
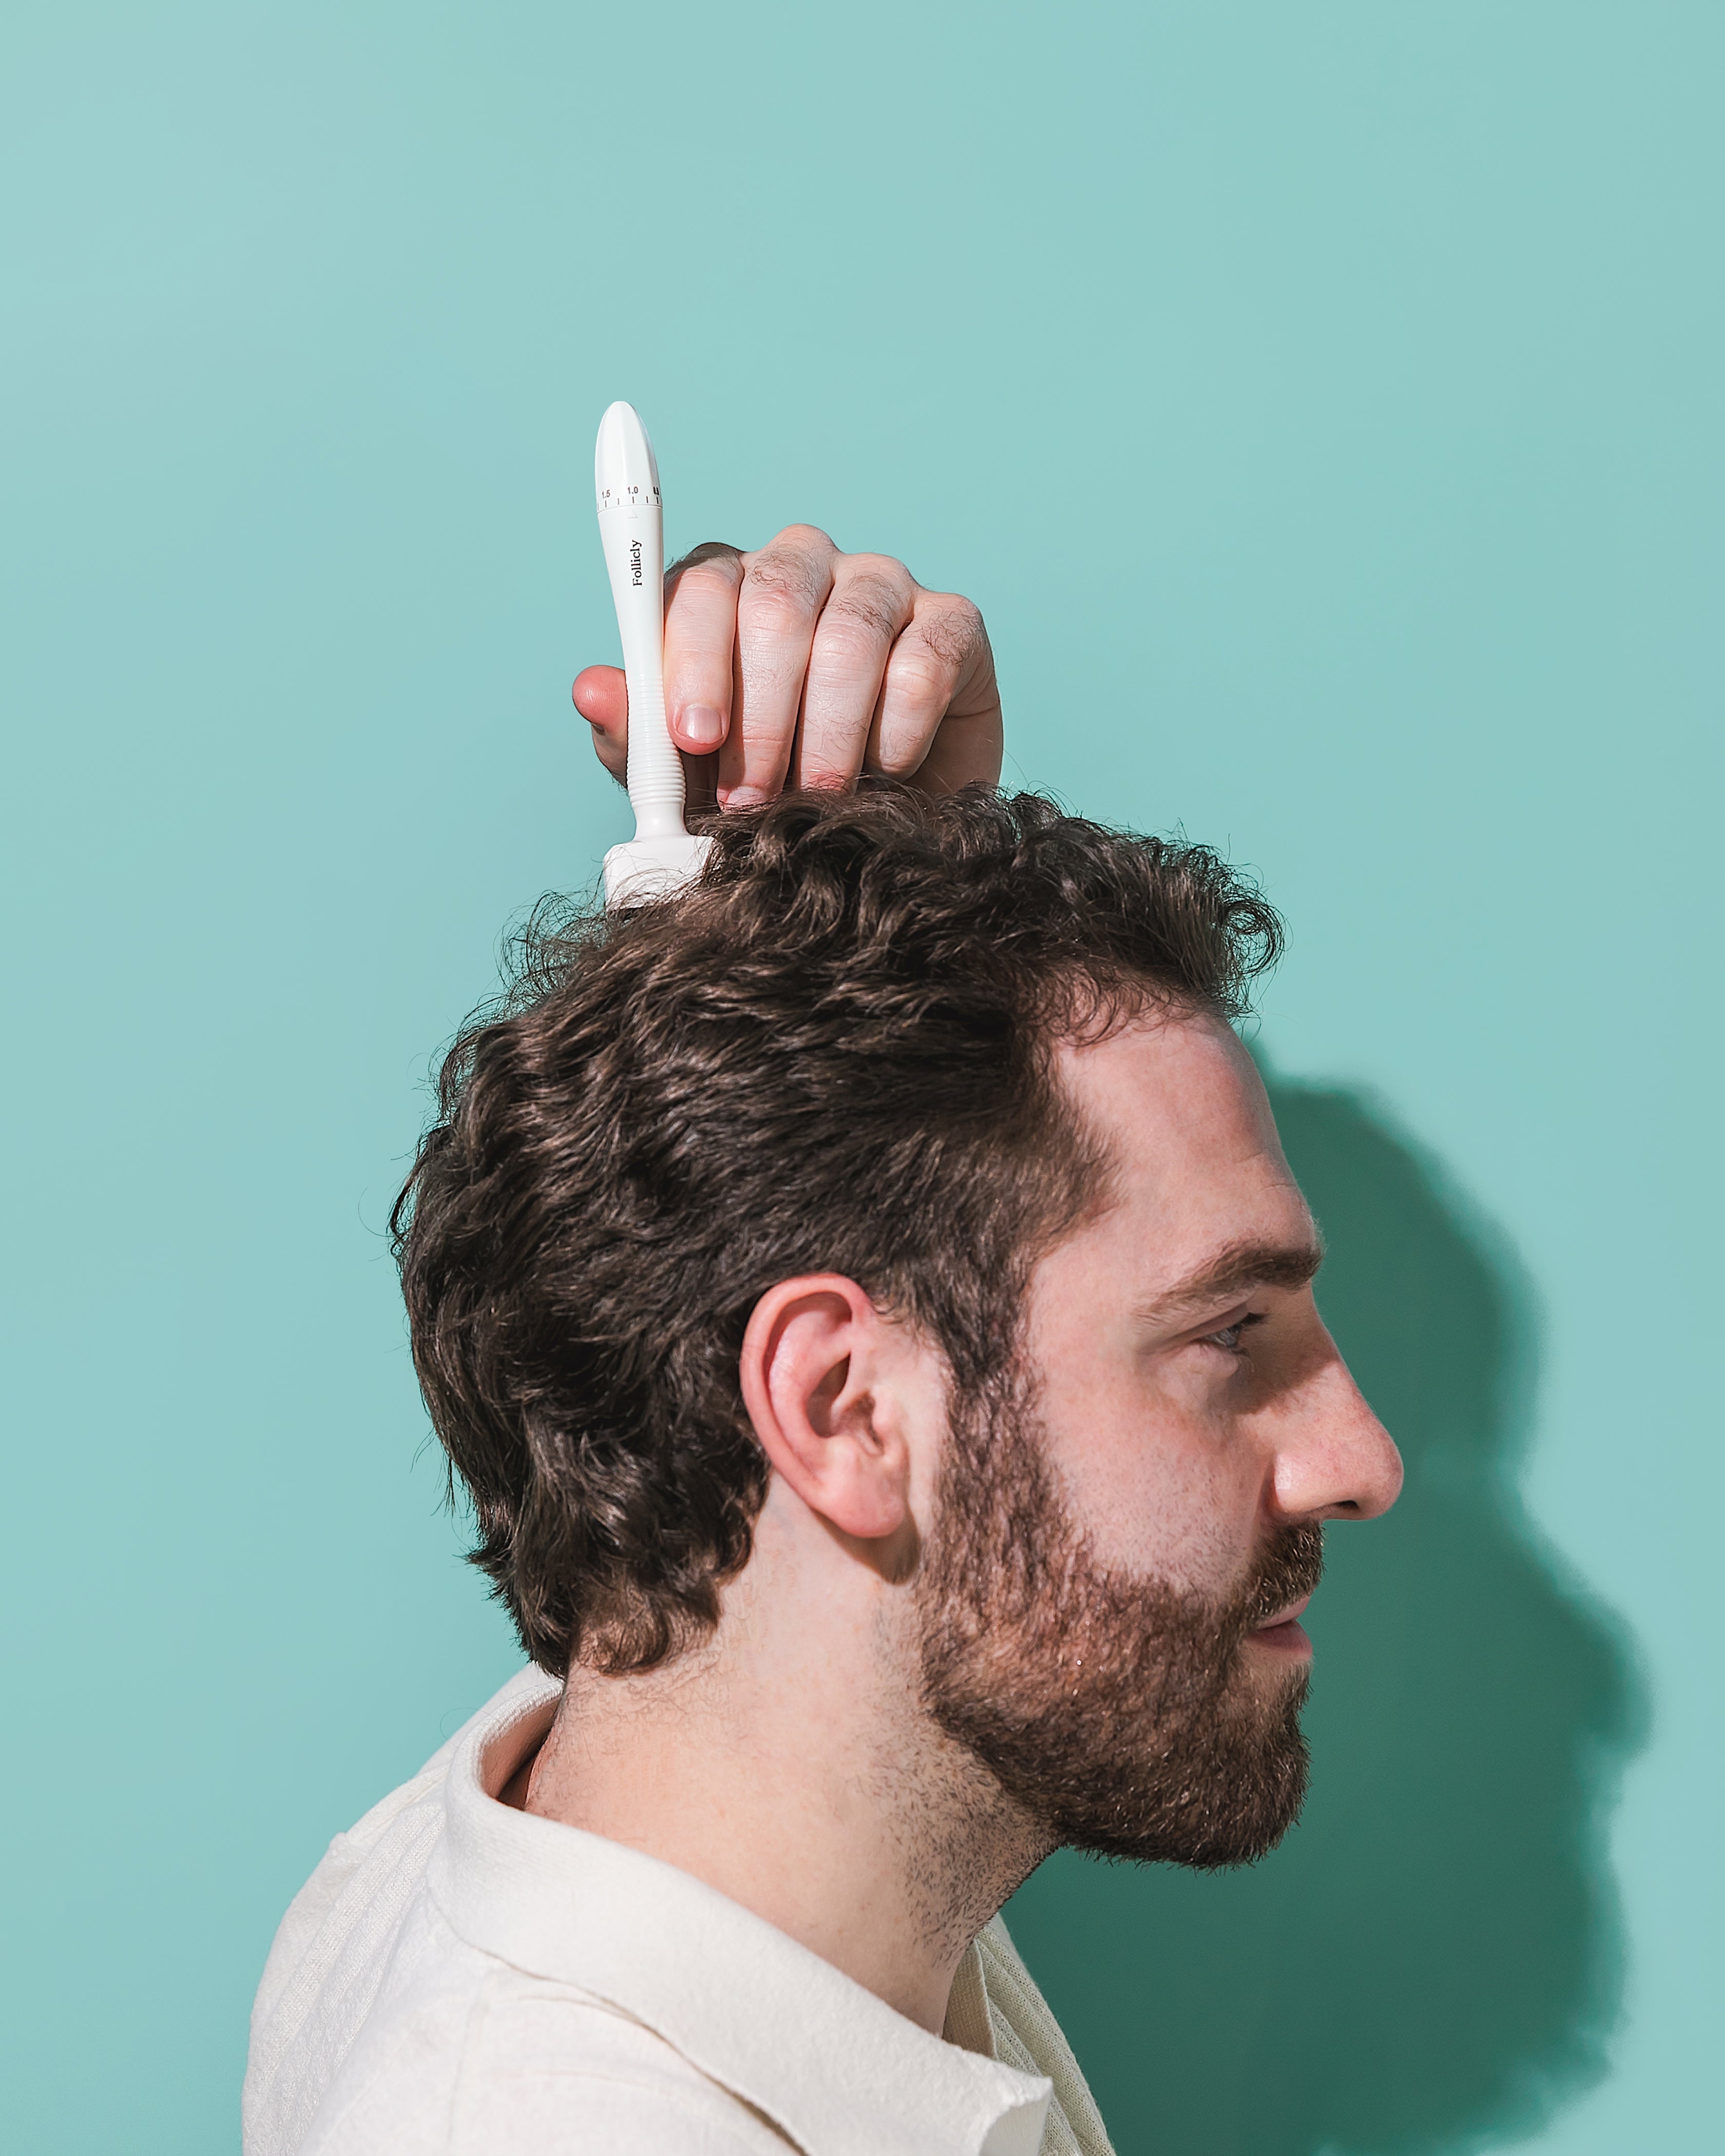
The crown is the most common area of hair thinning for both men and women with androgenetic alopecia — and it's also one of the trickiest areas to treat effectively with microneedling. The curved surface, the difficulty seeing what you're doing, and the tendency to apply uneven pressure all make crown microneedling a technique worth learning properly.
This guide covers everything you need to know to treat the crown effectively and safely.
Why the Crown Is a Challenging Zone

- You can't see it directly. Unlike the hairline or temples, the crown requires mirrors or a second person to see clearly. This makes it easy to miss areas or apply inconsistent pressure.
- The surface is curved. A flat needle head needs to be repositioned frequently to maintain full contact with the curved scalp surface.
- Pressure is harder to control. Reaching up and over to treat the crown means your arm angle changes, which affects how much pressure you apply.
- It's often the largest thinning zone. Covering the full crown takes more time and more passes than a localised patch.
Choosing the Right Tool for the Crown

Derma Pen — Best for Full Crown Coverage
The motorised oscillation of the derma pen makes it the most efficient tool for the crown. You can glide it across the curved surface in smooth, overlapping passes without needing to reposition as frequently as a stamp. The adjustable depth also lets you dial in exactly the right setting for the crown's skin thickness.
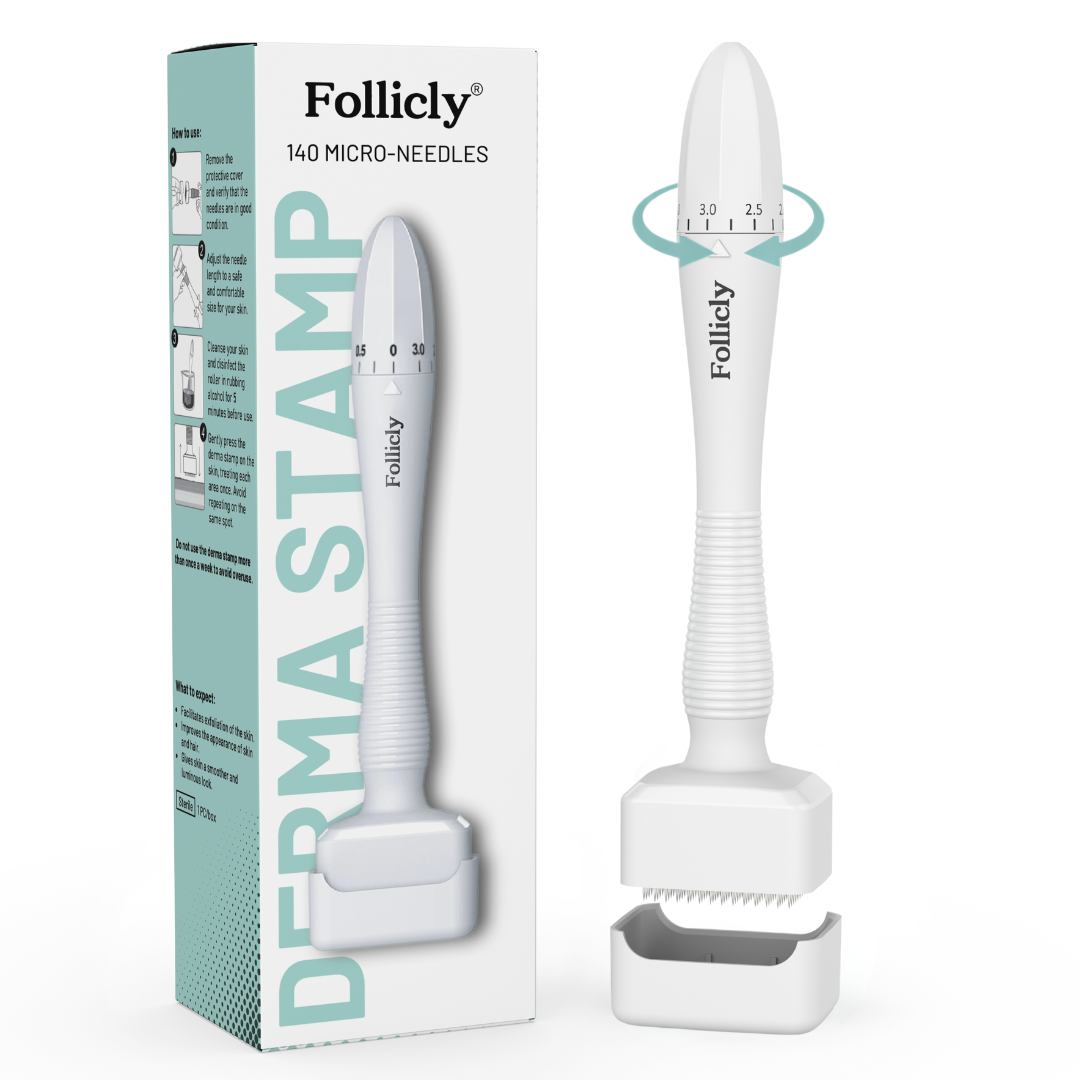
Derma Stamp — Best for Targeted Crown Patches
If your thinning is concentrated in a specific spot on the crown rather than diffuse, the derma stamp gives you precise control over exactly where you treat. It's slower for full-crown coverage but ideal for spot treatment.
Step-by-Step Crown Microneedling Technique
Step 1: Set up your mirrors

Use a handheld mirror in combination with a bathroom mirror to get a clear view of your crown. Good visibility is essential for even coverage. Alternatively, use your phone camera to check coverage after each section.
Step 2: Part your hair to expose the scalp
Use a comb to part your hair in sections, exposing the scalp in the thinning area. Work in small sections rather than trying to treat the whole crown at once.
Step 3: Divide the crown into a grid
Mentally divide the crown into four quadrants: front-left, front-right, back-left, back-right. Treat one quadrant at a time to ensure even coverage and avoid missing areas.
Step 4: Apply consistent, light pressure
Let the needle length do the work — don't press hard. On the crown, the temptation is to press harder to compensate for the awkward angle. Resist this. Consistent light pressure produces better results than variable heavy pressure.
Step 5: Work in overlapping passes
For each quadrant, make passes in two directions — horizontal and vertical (or horizontal and diagonal) — to ensure uniform coverage. Overlap each pass by about 50% to avoid gaps.
Step 6: Apply your topical immediately after
Within 5–10 minutes of finishing, apply minoxidil or your chosen serum to the treated area. Massage gently with clean fingertips to distribute evenly. For the full protocol, see: How to Microneedle with Minoxidil for Best Hair Results.
Recommended Needle Depth for the Crown
The crown has slightly thicker skin than the hairline and temples, which means you can generally use slightly deeper needles here:
- 0.5mm: Good starting depth for beginners. Enhances absorption and provides mild stimulation.
- 0.75mm: The sweet spot for most people treating crown thinning. Meaningful stimulation with manageable recovery.
- 1.0mm: Maximum recommended at-home depth for the crown. Use once per week or bi-weekly. Expect 48 hours of sensitivity.
For the full frequency guide by needle depth, see: How Often Should You Microneedle Your Scalp?
How Many Passes Should You Do?
For each section of the crown, aim for 3–5 passes in each direction (horizontal and vertical). More than this risks over-treatment; fewer may result in insufficient coverage. The goal is uniform micro-channel distribution, not maximum needle density.
Common Crown Microneedling Mistakes

- ❌ Pressing too hard to compensate for the angle — this causes uneven depth and more trauma than necessary
- ❌ Missing the centre of the crown — the very top is easy to skip; use your mirror to check
- ❌ Treating the same spot repeatedly in one session — move on after your passes; don't concentrate on one area
- ❌ Skipping the topical application — the post-needling window is your highest-absorption opportunity; don't waste it
- ❌ Not parting the hair first — needling through hair reduces effectiveness and increases the risk of tangling
How Long Until You See Crown Results?

The crown typically responds well to microneedling, but it's a large area and results take time. Expect:
- Month 1–2: No visible change. Scalp circulation improving beneath the surface.
- Month 3: Fine vellus hairs appearing in the thinning zone. Existing hair may look thicker.
- Month 4–6: Meaningful improvement in crown density. Reduced scalp visibility through the hair.
For the full timeline, see: Derma Roller Results Timeline: What to Expect at 1, 3, and 6 Months.
Aftercare for the Crown
The same aftercare principles apply to the crown as to any other scalp zone — no shampoo for 24 hours, no heat styling, sleep on a clean pillowcase. See the full checklist: Scalp Microneedling Aftercare Guide.